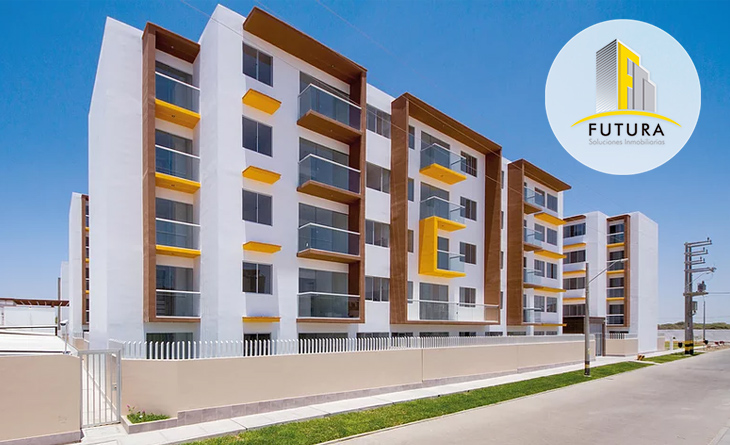
Constructora MPM through its Real Estate Company FUTURA
Soluciones Inmobiliarias SAC, developed the Lagunas del Chipe Residential Condo in the city of Piura.
The soil study, as in any project, began with the soil mechanics study. In order not prevent vibrations by rollers or affecting the surrounding houses, a lower strength concrete (30kg/cm2) was used to replace the soil layers (80cm) initially proposed in the soil study.
Likewise, the natural soil was improved with 30kg/cm2 of 30 cm-thick concrete, according to the technical report on the soil study recommendations. As for the sanitary and sewage installations, trenches were dug to place drainage pipes, for the second floor as well as the upper floor uprights.
Nos preocupamos por el bienestar de nuestros clientes, ofreciéndoles una vivienda con los mayores estándares de calidad con un diseño innovador que cumpla sus expectativas y sueños.
Lic. Rafael Noriega Castañeda
Laying the Foundation Beams
Excavations were carried out to place steel for the perimeter foundation beams of the slab. Likewise, excavation works, steel fitting, formwork and bottom well concrete were executed for the elevator box. The bottom steel of the foundation slab was also placed. Regarding the sanitary and electrical installations, all the water pipes, electrical installations and copper pipes for domestic gas systems were placed after the first steel mesh.
Laying the Upper Steel
The second mesh or upper steel was placed after all the pipes. And before pouring the concrete, hydraulic pressure tests were performed on the water pipes, and gravity tests on the drainage pipes. These tests were maintained while pouring the concrete.
Upon ensuring that everything was according to the drawings and technical specifications, the ready-mix concrete was poured. After the concrete was poured, the dowells left to support the steel of the second floor walls were observed.
Procedure II for 1st to 5th floors
After the concrete was poured and cured, the layout of walls was done on the foundation slab and some 1⁄4" iron stops for wall panels were placed. From the dowells left in the foundation slab, the vertical and horizontal steel was placed in the walls.
Sanitary Installations in Walls
Once the steel was placed in the walls, all the plumbing pipes were also placed according to the drawings. Likewise, the pipes and enclosures for electrical and communications installations were placed. Subsequently, the walls were formed using metal panels. Once the walls were formed, the roof slab was formed using metal formwork. Then, the bottom mesh was placed on the roof slab. After the first mesh, pipes for water, sewage and lighting were placed in the bathroom area.
Once all the plumbing, electrical and gas pipes were in place, the second mesh (upper steel) was placed on the roof slab. Subsequently, points were placed for concrete pouring levels.
Before and while pouring the concrete, the water and sewage pipes were hydraulically tested. While hydraulically testing the water and sewage pipes, the ready-mix concrete was poured and, at the same time, the concrete was vibrated.
